
Commercial vs. Consumer Dash Cams for Fleets: 2026 Guide
20 Oct 2026
driver coaching


Improve fleet safety, reduce operating costs, and optimize field performance with an easy-to-use platform for video, GPS tracking, driver coaching, maintenance, asset tracking, and real-time fleet insights.
Drive your total fleet operations with SureCam’s all-in-one video telematics solution.
Valuable guides, case studies, and videos to help you optimize fleet management, safety, and productivity with telematics solutions.
Values, job opportunities, and ways to connect or partner with SureCam.





Fleet dash cam installation covers more than mounting a camera and plugging in a cable. The process spans vehicle assessment, hardware mounting, power connection, device configuration, and system testing. No vehicle returns to service until every step clears. For mixed fleets with multiple vehicle types, that planning work determines whether the rollout goes smoothly or creates coverage gaps that surface weeks later.
The difference between a clean deployment and a months-long remediation effort usually comes down to the work done before the first vehicle enters the installation bay. Fleets that map their assets, define installation standards by vehicle type, and schedule work around operational windows move faster and hit fewer exceptions than those that treat installation as a single, uniform task. The hardware is straightforward. The planning behind it is what keeps the system working consistently at vehicle fifty, not just vehicle five.
A current, complete vehicle list gives fleet operations, maintenance staff, and installers the same starting point. It also reveals which vehicles need a different hardware kit, a different mounting plan, or a different installation window before anyone shows up with tools.
A pre-installation inventory should capture, at minimum:
That detail matters because cab layouts, windshield geometry, mounting surfaces, and power configurations differ across vehicle types and model years. A cargo van and a Class 6 service truck require different camera kits, different cable-routing paths, and different scheduling constraints. Treating them as identical on paper leads to incorrect hardware orders and preventable delays.
The table below illustrates how installation planning considerations differ by vehicle class:
| Vehicle Class | Camera Coverage to Consider | Power Connection | Pre-Installation Priority |
|---|---|---|---|
| Cargo vans/light-duty | Forward-facing; add driver-facing camera if a formal coaching program is in place | OBD or hardwire | Confirm mounting surface and windshield clearance near rearview mirror |
| Class 3–6 service trucks | Forward-facing; rear-facing for backing and parking incident documentation | OBD or hardwire | Verify cab layout against installation profile for each make and model year |
| Semi-tractors and day cabs | Forward-facing minimum; side or rear cameras for wider visibility at docks and fuel stops | Hardwire | Check for existing cab accessories that may affect sight lines or cable routing |
| Specialty equipment (mixers, bucket trucks, utility) | Multi-camera coverage addressing the visibility gaps specific to that vehicle geometry | Hardwire | Assess custom mounting surfaces before ordering hardware |
The most efficient way to manage a mixed fleet rollout is to group vehicles into repeatable installation profiles. Each profile covers the camera configuration, power connection method, cable-routing path, and quality checklist for that vehicle class. Once documented, any installer or maintenance technician can execute it without relying on individual judgment at each vehicle.
That consistency is what makes a phased rollout scalable. Ringway Jacobs, a highway services fleet that operates more than 250 trucks and 350 vans across the United Kingdom, demonstrates this tiered approach at scale. Dave Bonehill, Head of Fleet Operations, deployed distinct camera configurations matched to each vehicle class: forward and rear-facing cameras on smaller vehicles, four-way coverage on larger ones, and 360-degree proximity sensors with in-cab driver alerts on the newest additions. Over two years, that structured deployment contributed to a 54% reduction in accident rate and unsafe driving behavior across the fleet.
The profile approach also makes future additions easier to manage. When a new vehicle class joins the operation, the team builds a profile before installation begins rather than improvising at the first unit. Exceptions documented during the initial rollout get used to refine the profiles rather than handled informally and forgotten.
Even within a defined vehicle profile, individual units may present variables that require documented exceptions. Older model years may have different trim-panel configurations, non-standard wiring access points, or existing equipment that affects cable routing. Any vehicle with known cab-access concerns or maintenance history should be flagged before it enters the installation queue.
Installers should verify power connection compatibility before work begins. SureCam cameras support both OBD and hardwired power connections. The hardwired option provides a more stable, permanent connection for vehicles that run long duty cycles or travel away from a home terminal for extended periods. Hardwire installation requires identifying constant-power and ignition-triggered fuse slots in the vehicle's fuse box and grounding to the chassis. Any vehicle where existing wiring, airbag components, or trim-panel routing creates a concern should be reviewed carefully before installation proceeds.
Camera placement directly affects footage quality during an incident. A camera mounted at the wrong angle or position on the windshield may produce obstructed or distorted video that is difficult to use for claims review, driver coaching, or safety analysis. Getting this right at installation is far easier than correcting it after a vehicle has returned to service.
The standard mounting position for a forward-facing camera is behind the rearview mirror, positioned to capture a wide field of view without blocking driver sightlines or interfering with airbag deployment zones. The camera lens should remain unobstructed and clean. Reflective windshield coatings or heavy tinting can affect both video clarity and GPS reception; if present, relocating the device to a clear area of the windshield resolves the issue. Each installation profile should document the correct mounting position for that vehicle class so installers do not need to make this judgment independently at each unit.
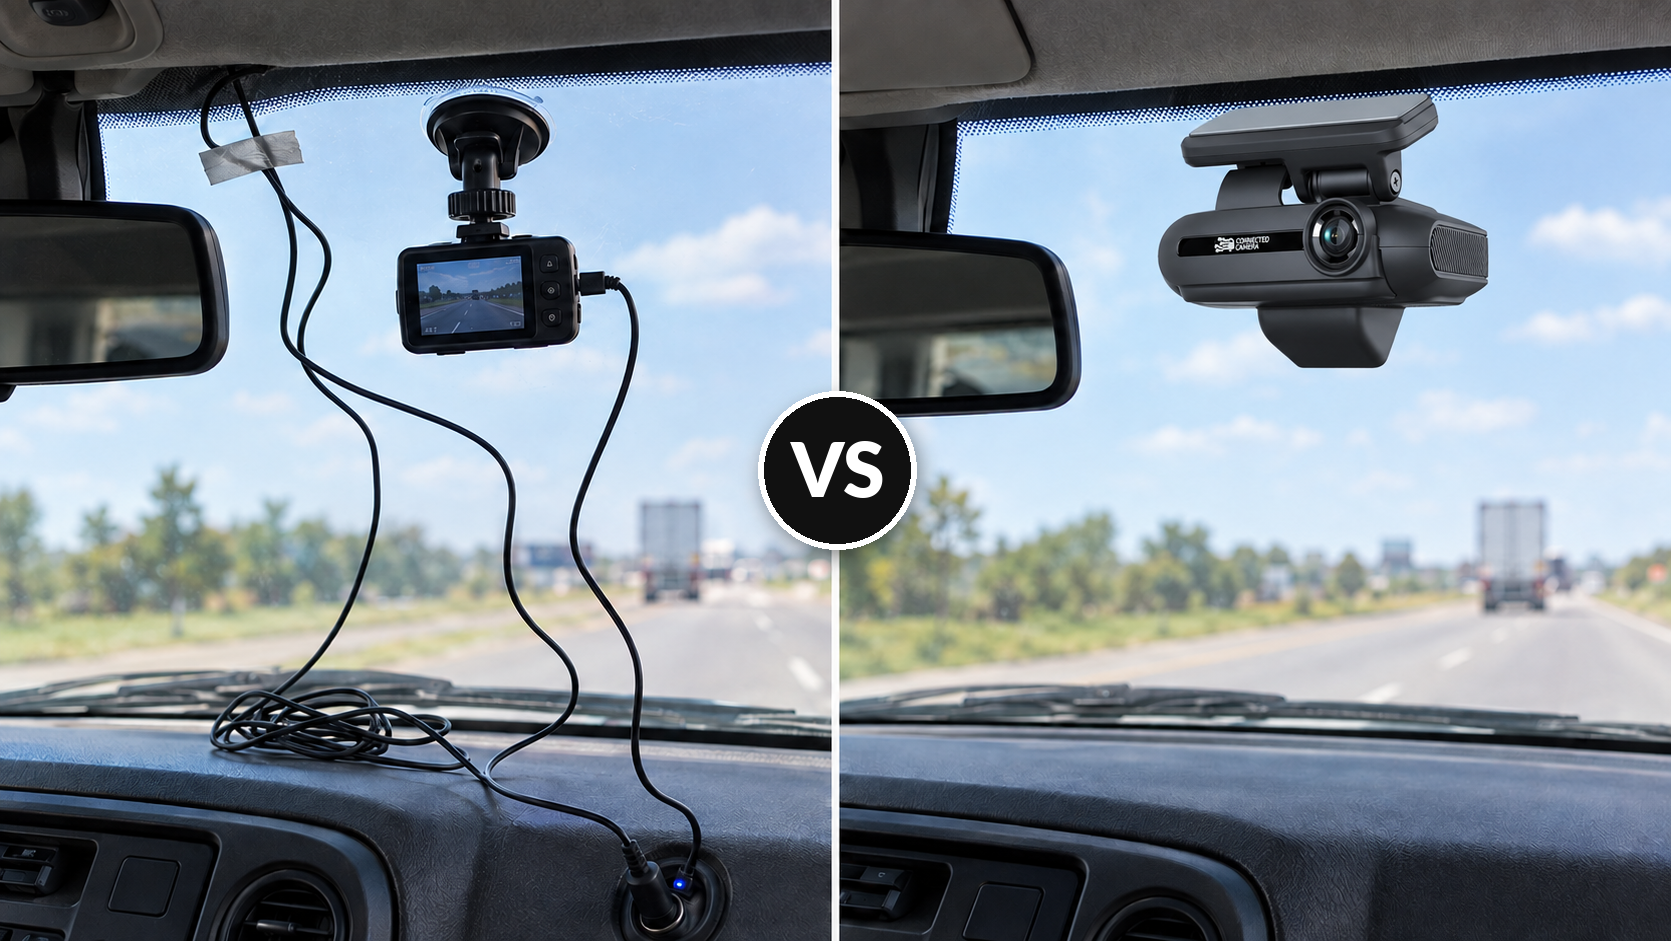
Cable routing is where installation shortcuts create problems that appear months after initial deployment. A cable running loose through the cab creates a distraction risk, may pinch under trim panels, or disconnects under road vibration before anyone notices a gap in footage.
Cables should run along the interior trim line from the camera mounting point to the power source, secured at regular intervals without tension or sharp bends. Each installation profile should document the cable-routing path for that vehicle class so the standard stays consistent across the fleet. If a vehicle's trim layout makes standard routing impractical, document the exception and resolve it before the vehicle is cleared for return to service. Consistent routing also makes future camera replacements faster: the path is already mapped.
Taking vehicles out of service during high-demand periods adds operational risk. Delivery, construction, utility, and field-service fleets often carry high workloads with limited spare capacity. Vehicle availability can shift quickly when routes run long or a scheduled unit gets pulled for another need.
Matching installation windows to real operating patterns reduces that risk. Route cycles, planned maintenance visits, driver shift changes, and terminal dwell time all create opportunities to take a vehicle offline briefly without disrupting service. A vehicle already scheduled for preventive maintenance can often absorb a camera installation in the same window without adding downtime.
A phased deployment gives mixed fleets more control over pace. Starting with a pilot group of five to ten vehicles that represents each major vehicle type lets the team validate hardware fit, cable-routing standards, platform configuration, and actual time per vehicle before scaling. The pilot phase surfaces exceptions before they become fleet-wide patterns.
If a particular vehicle class requires an additional step or a hardware substitution, the team resolves it once during the pilot and updates the installation profile before rollout continues. Once the process is proven, deployment can expand by terminal, vehicle class, or region. That structure prevents a common pattern: a fast early rollout that stalls halfway through when exceptions accumulate faster than they can be resolved.
When a vehicle is swapped unexpectedly, hardware arrives with a discrepancy, or a connectivity check fails during testing, the schedule holds together only if everyone knows who owns the next action. Fleet operations, maintenance, safety, and IT may all have roles in a larger deployment.
Before rollout begins, define which team or individual handles vehicle availability confirmation, installer coordination, asset record updates, and exception management. Identifying that ownership in advance prevents the coordination gaps that slow an otherwise well-planned deployment. A rollout without clear ownership tends to produce vehicles that pass physical inspection but never get correctly assigned in the platform, making footage unsearchable when it is needed most.
Mounting the camera and connecting power completes the hardware phase. The system is not ready for daily use until video framing, GPS location, cellular connectivity, event capture, and correct vehicle assignment have all been confirmed.
A post-installation quality check for each vehicle should verify:
A short road test or controlled verification drive for each vehicle profile gives the installation team real-world confirmation before the unit goes back into daily service. Video events triggered during the drive should appear in the platform, link to the correct asset, and be retrievable by the safety or operations team responsible for review.
Testing one representative unit from each vehicle type also surfaces differences that a static check would miss. A camera that reads correctly in a parked cargo van may require angle adjustment in a taller service truck. An event that captures cleanly on a flat suburban route may behave differently on a route with frequent hard stops or uneven road surfaces. Running the verification before the fleet is back on the road is faster than tracking down footage problems after an incident.
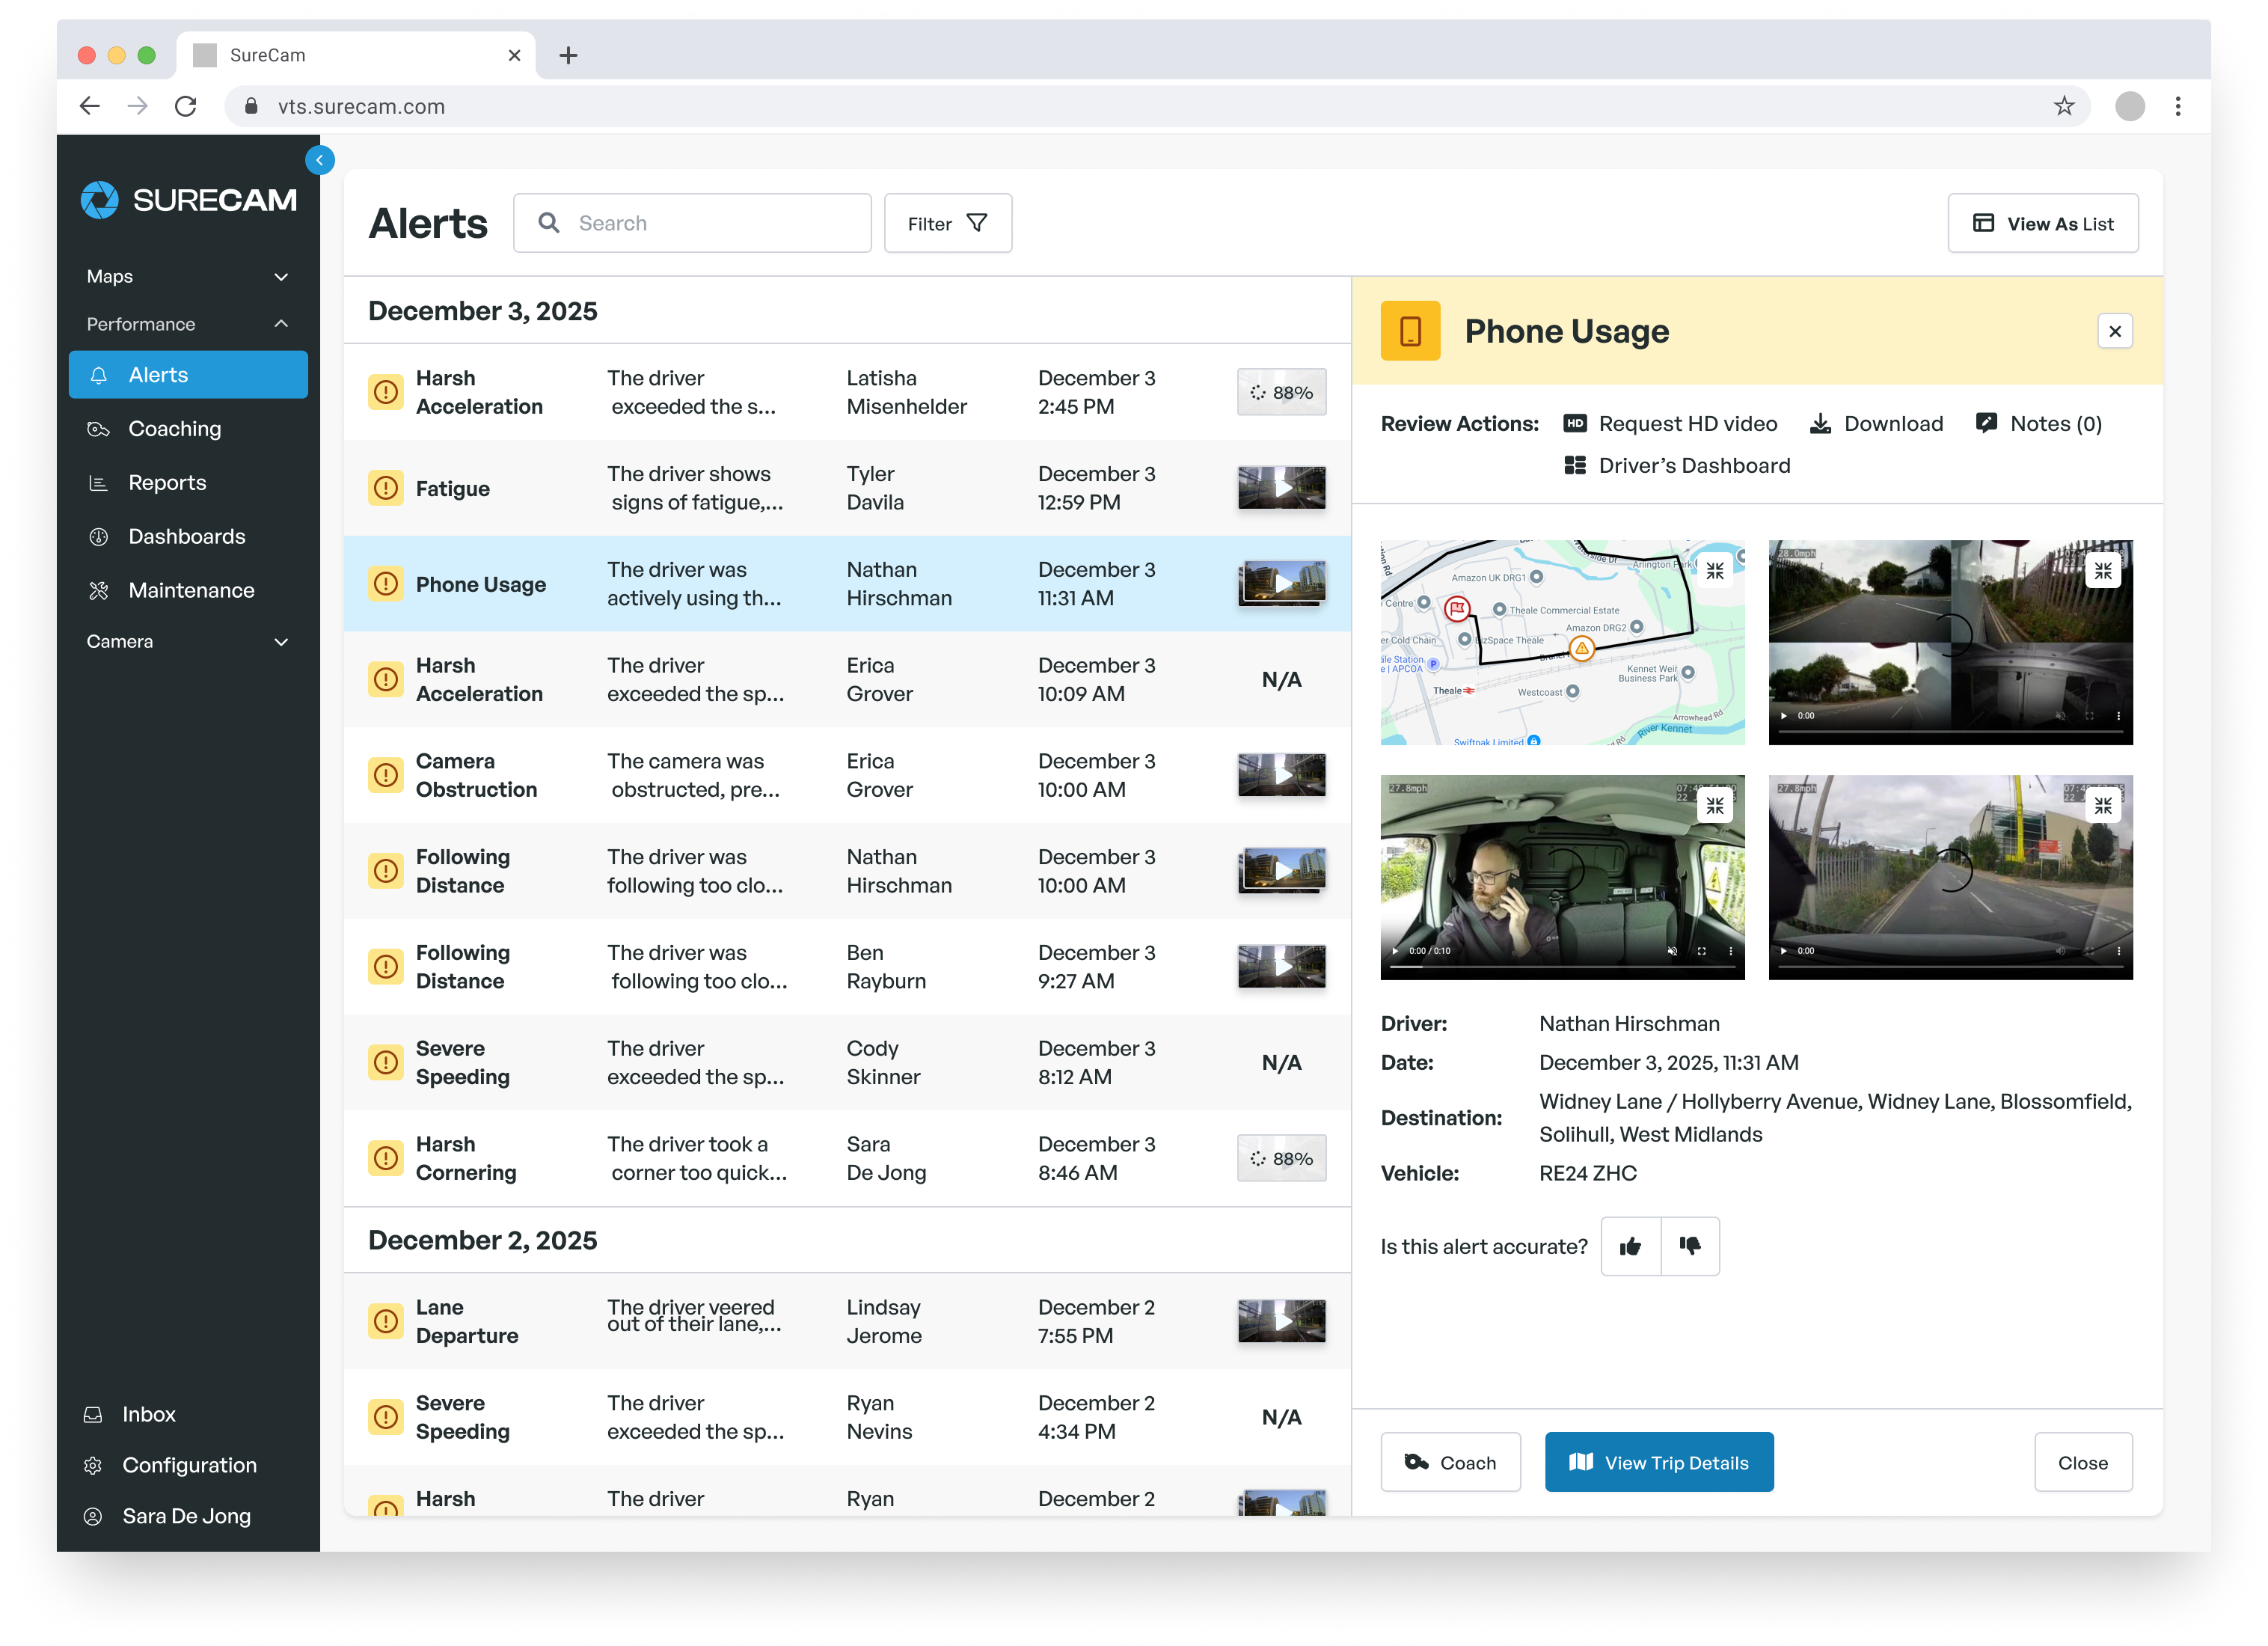
The people side of the rollout matters as much as the hardware side. Safety managers and fleet supervisors should be able to locate footage, retrieve specific events, and document a coaching conversation without calling support before the system goes live across the fleet.
A brief walkthrough of the platform before go-live confirms that the review workflow is clear and that each team member knows what to do when an event appears. A system that works technically but that no one knows how to operate adds cost without delivering safety value. That walkthrough is also the right moment to establish consistent expectations around how events are reviewed, how coaching conversations are documented, and what happens when footage is needed quickly for a third-party claim.
Fleet dash cam installation is a foundation, not a one-time task. Every vehicle addition, replacement, or equipment swap that follows the initial rollout should follow the same documented standards the team built during deployment.
Keep installation profiles current as the fleet changes. If a new vehicle class joins the operation, build a profile for it before installation begins rather than improvising at the first unit. Review exceptions from the initial rollout and use them to refine the profiles rather than treating each one as a closed case. Consistent documentation reduces dependence on institutional memory: when a replacement camera is needed or a new technician handles an installation, the standard carries forward without relying on whoever managed the original rollout.
The fleets that get the most out of connected dash cam programs treat the installation process as an operational standard, not a project with a finish line. Consistent footage quality and reliable asset assignments are what make the difference between video evidence that holds up when it matters and a system that looked complete on paper.
Contact SureCam to discuss a deployment plan matched to your fleet's vehicle mix, terminal structure, and operating calendar.