Plan Installation Around Vehicles and Workflows
Fleet dash cam installation takes more planning when your operation includes vans, service trucks, tractors, and specialty assets. A uniform fleet may follow one repeatable setup, but mixed fleets bring different cab layouts, model years, power systems, windshield shapes, and work schedules into the process. Those differences can affect where equipment fits, how it is powered, and when each vehicle can be taken out of service.
At SureCam, we see installation as the foundation for dependable video evidence, accurate GPS information, and safety insights your team can actually use. A thoughtful rollout helps prevent blocked camera views, unclear asset labels, loose cable routing, and unnecessary downtime. The work starts with vehicle assessment, then moves through installation standards, scheduling, and post-installation testing. With a clear process, you can protect drivers and build consistency across every part of the fleet.
Map and Standardize Every Vehicle Type
Before fleet dash cam installation begins, we recommend building a complete asset list. This gives your operations team, maintenance staff, and installers the same starting point. It also makes it easier to spot the vehicles that need a different hardware kit, mounting plan, or installation window.
Your pre-installation list should include:
- Vehicle number and VIN
- Year, make, model, and vehicle class
- Home terminal and typical duty cycle
- Current telematics equipment
- Known maintenance or cab-access concerns
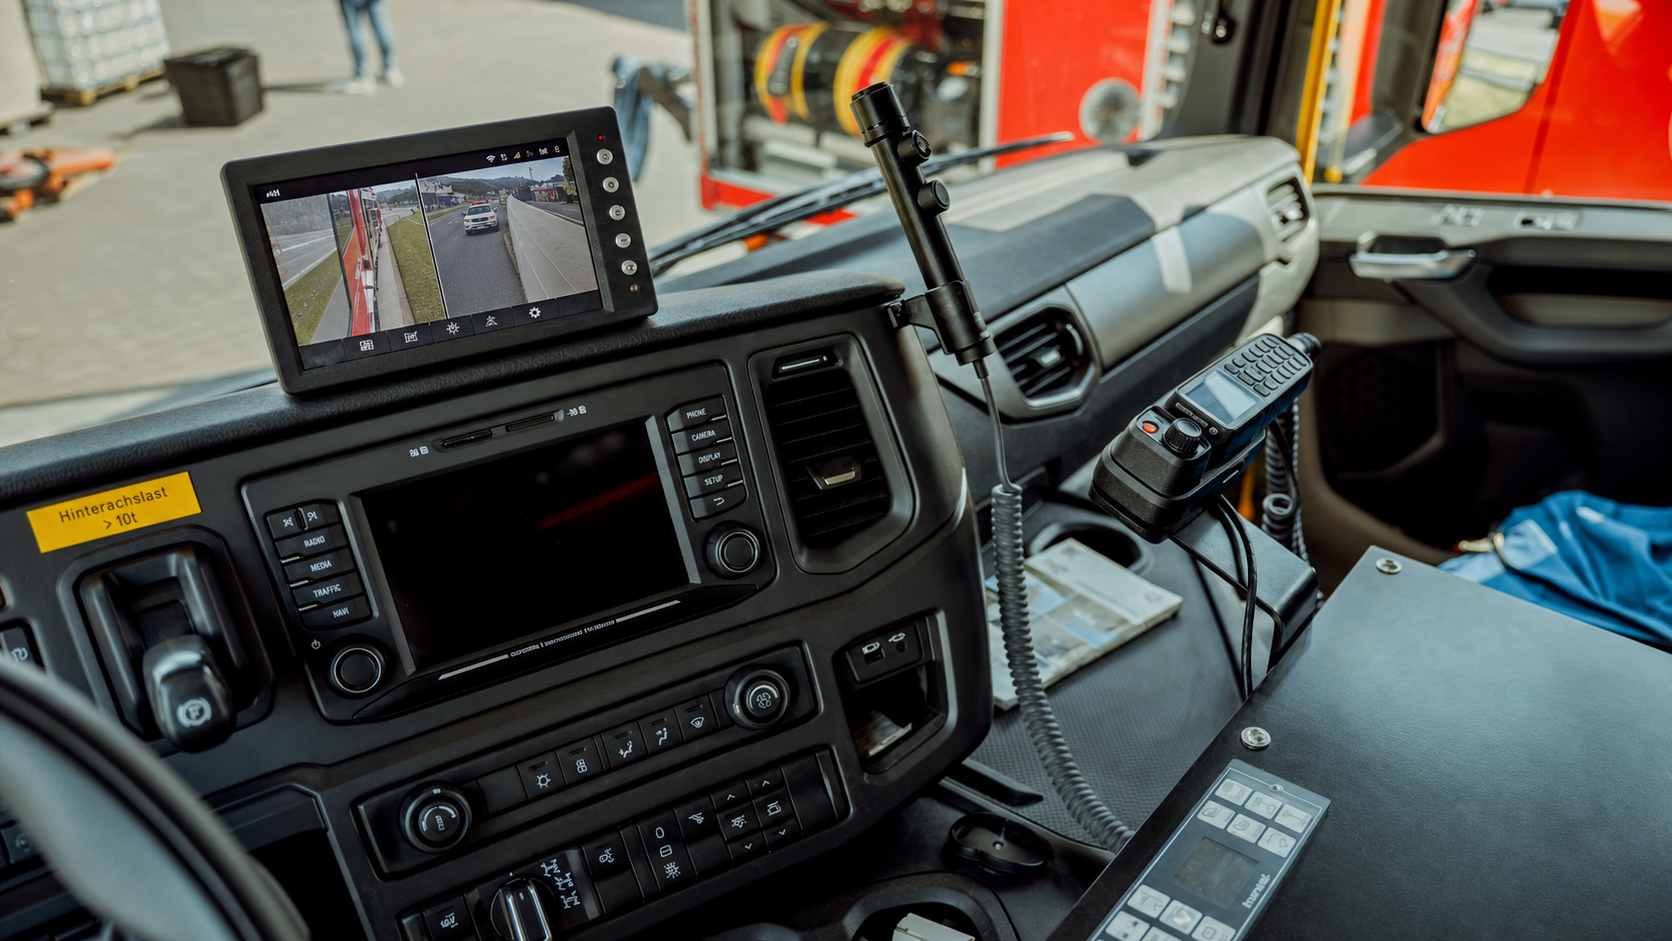
Vehicle-level details matter just as much as the basic inventory. Windshield shape, mounting space, 12-volt or 24-volt power, existing wiring, interior trim, and cab access can all change the installation approach. Any mounting and wiring work should follow the vehicle manufacturer’s guidance and applicable local requirements. Installers also need to account for areas where airbag components or trim-panel routing may be a concern.
From there, group vehicles into repeatable installation profiles. For example, you may create separate profiles for light-duty vans, Class 3 to 6 service trucks, tractors, and specialty equipment. Each profile can include the right kit, instructions, cable-routing plan, and quality check. That approach gives your team consistency without pretending every asset is identical.
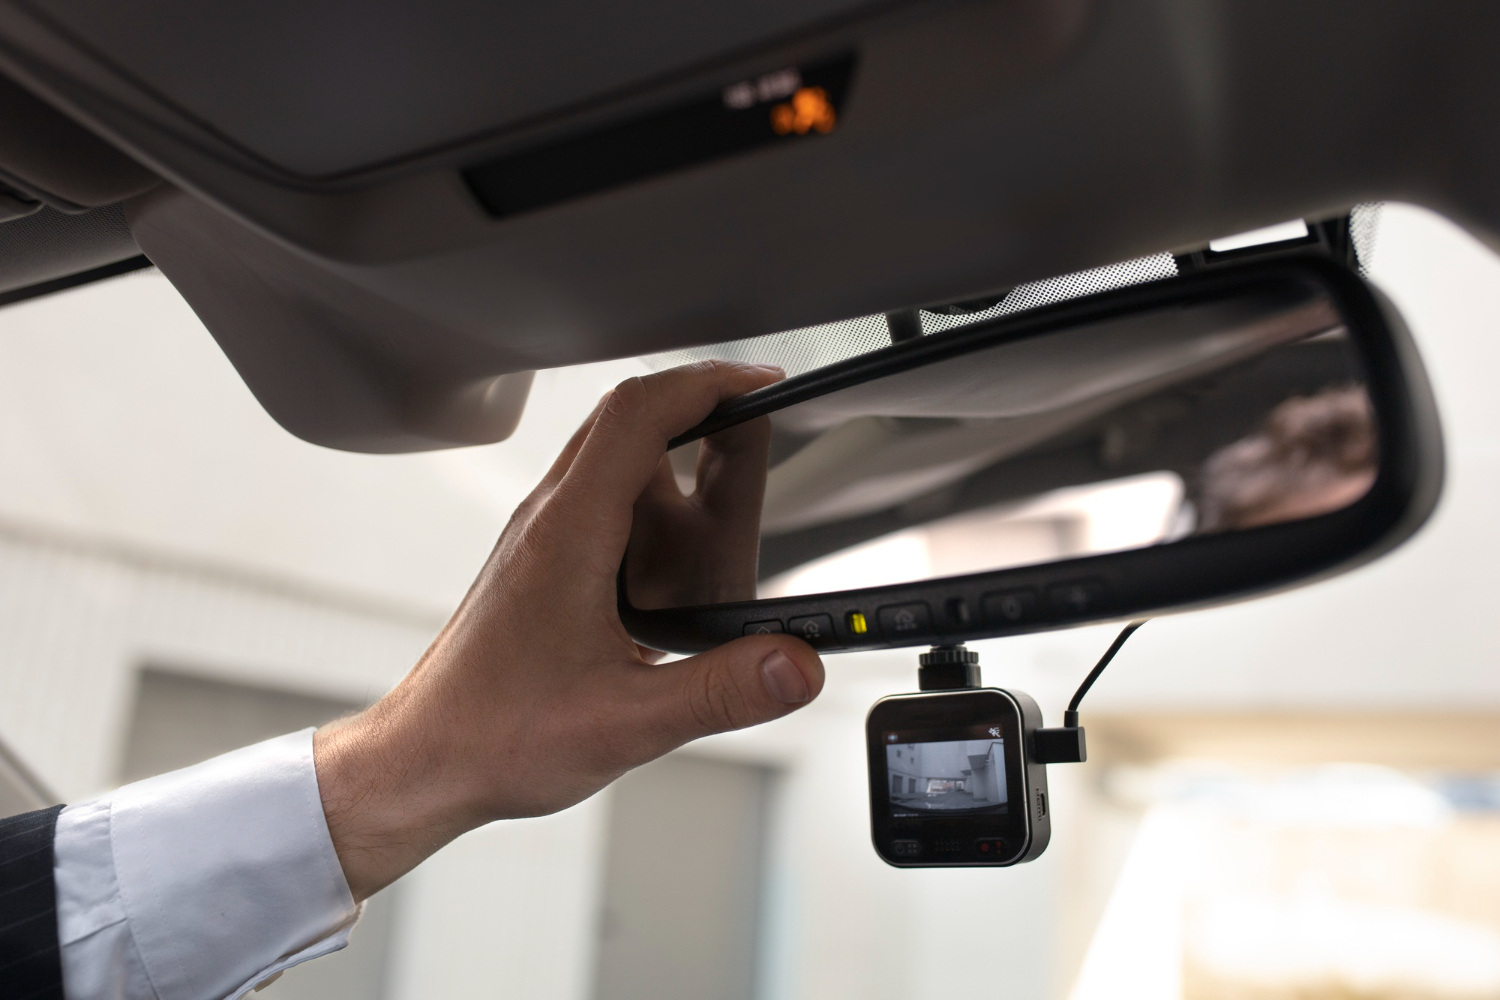
The core work is straightforward, but the standard behind it should be clear. Our installation process focuses on confirming the camera location, connecting stable power, routing cables cleanly, securing every component, and assigning the device to the correct vehicle in the fleet platform. Consistent standards make later troubleshooting, replacement, and vehicle swaps much easier to manage.
A delivery van may need a different cable path than a day cab. Older work trucks may need a closer review of power connections and interior mounting surfaces before hardware is installed. Rather than forcing one method across every vehicle, we recommend documenting exceptions and updating the relevant installation profile.
A practical quality checklist should confirm:
- The camera angle provides an unobstructed road view
- Mounting and cable routing are secure and tidy
- The device follows expected ignition behavior
- GPS and cellular connectivity are working
- The camera is assigned to the correct vehicle record
Schedule Installation Without Disrupting August Operations
August can be a difficult month for taking vehicles off the road. Delivery, construction, utility, and field-service fleets may be carrying high workloads, while heat can create additional equipment and maintenance concerns. Vehicle availability can change quickly when routes run long, or crews need a spare unit.
Instead of building the schedule around installer availability alone, we recommend matching fleet dash cam installation to real operating windows. Route cycles, planned maintenance, driver shift changes, and terminal dwell time can all create better opportunities for installation. The goal is to avoid pulling a needed vehicle from service when it is already committed to a route or job.
A phased deployment usually gives mixed fleets more control. Start with a pilot group that includes examples from each major vehicle type. That pilot lets your team validate mounting locations, power connections, asset assignments, and the time required at each location. Once the process is working, you can expand by terminal, region, or vehicle class.
Clear ownership helps the schedule hold together. Before rollout, decide who is responsible for confirming vehicle availability, coordinating installers, updating asset records, and handling exceptions. Fleet operations, maintenance, safety, and IT may all have a role. When a vehicle is swapped, hardware is missing, or a connectivity check fails, everyone should know who owns the next action.
Test Video, GPS, and Coaching Before Go Live
Mounting the camera is not the final step. Each vehicle should pass a quality-assurance review before the system is considered ready for daily use. We recommend confirming video framing, road visibility, GPS location, cellular uploads, event capture, and accurate vehicle identification.
A short road test or controlled verification process is especially useful for each vehicle profile. Your team should be able to retrieve footage, confirm that events are tied to the right asset, and make sure safety staff can find the information they need for incident review or driver coaching. Testing a representative van, truck, tractor, and specialty vehicle can reveal differences that would be easy to miss from a parked vehicle.
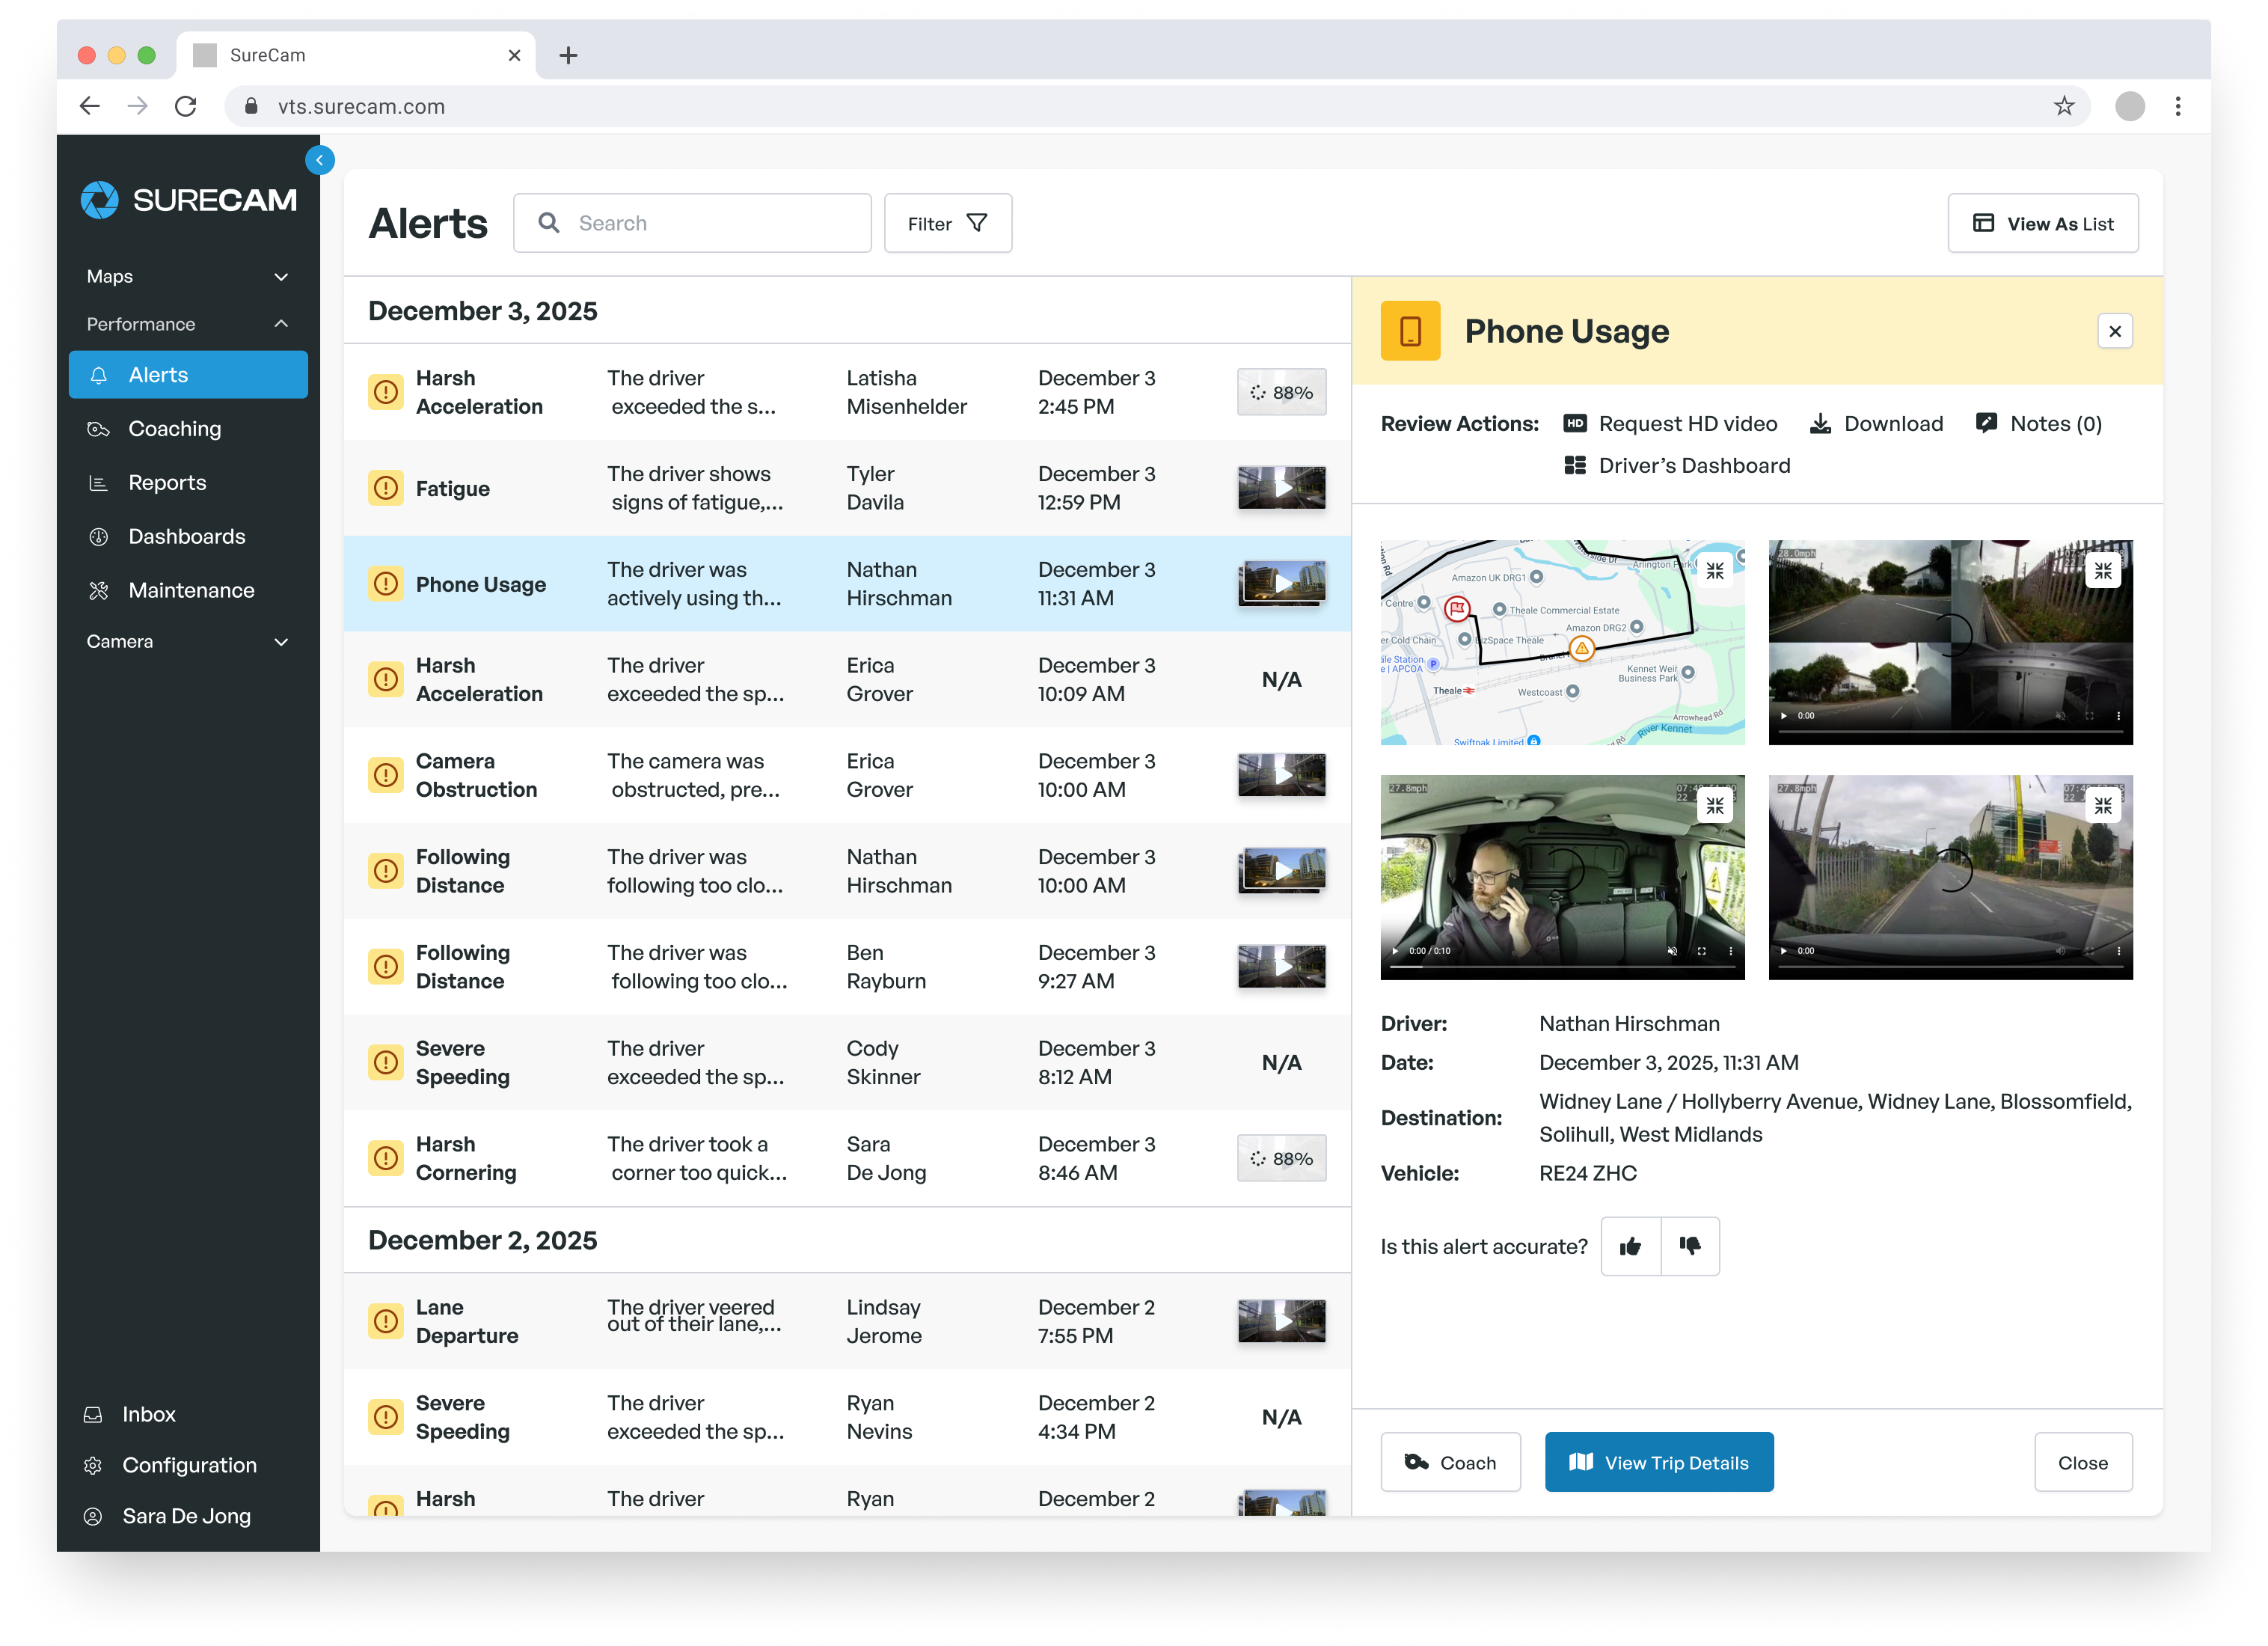
The people side of the rollout matters, too. Drivers need a direct explanation of how video telematics supports driver protection, evidence retrieval, and constructive coaching. Clear communication keeps the focus on fair review and consistent expectations. Supervisors should also understand how to review events using the same standards across terminals and teams.
Before go-live, confirm that your process answers a few practical questions: Who reviews an event? How are coaching conversations documented? What happens when footage is needed quickly? A system is more useful when the people working with it know what to do next.
Build a Repeatable Rollout Plan
Successful fleet dash cam installation is a process, not a single equipment task. The strongest rollouts combine vehicle assessments, standardized installation profiles, phased scheduling, documented exceptions, and quality checks that confirm every system is working as intended.
Begin with a current vehicle inventory and a pilot group that reflects the real mix of assets in your operation. That gives you a practical way to identify differences before scaling across the fleet. Once installation standards are proven, keep the documentation current so future vehicle additions, replacements, and equipment swaps follow the same reliable process.
Improve Fleet Visibility With the Right Camera Setup
SureCam can help you choose a fleet dash cam installation approach that supports consistent coverage and dependable performance. Our team works with you to match forward-facing cameras to your vehicles, operating conditions, and safety priorities. Contact us to discuss a solution built for your fleet.

.png)